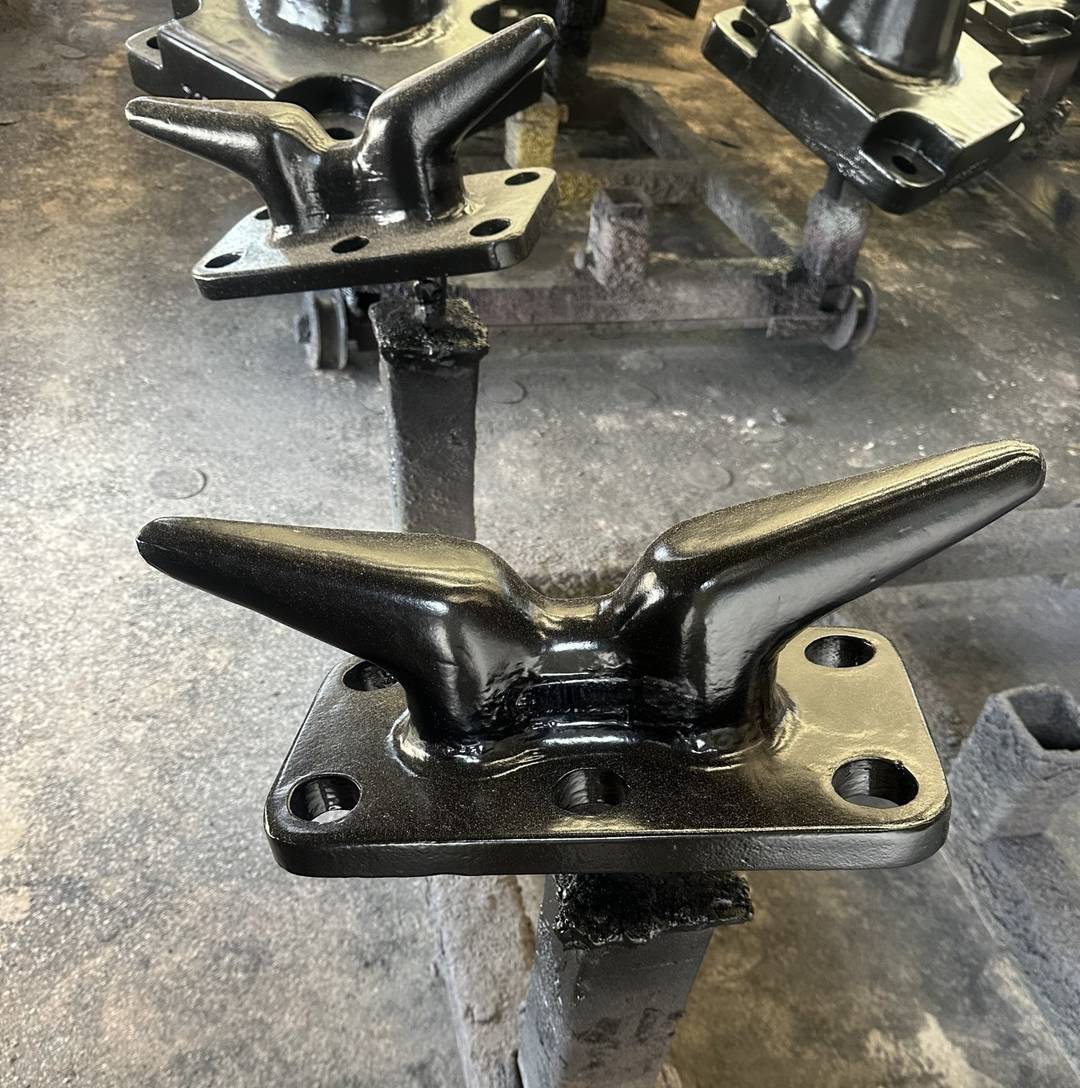
Cleat Mooring Bollards: Durable Solutions for Safe Docking
Mooring cleat bollards are essential for securing vessels at docks, marinas, and jetties. SME provides a wide range of durable mooring cleat bollards, designed for ports and waterfront facilities, ensuring both strength and visual appeal.
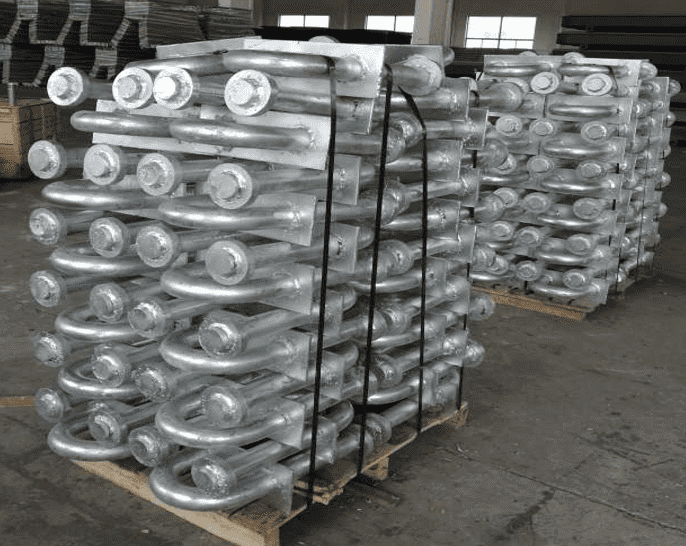
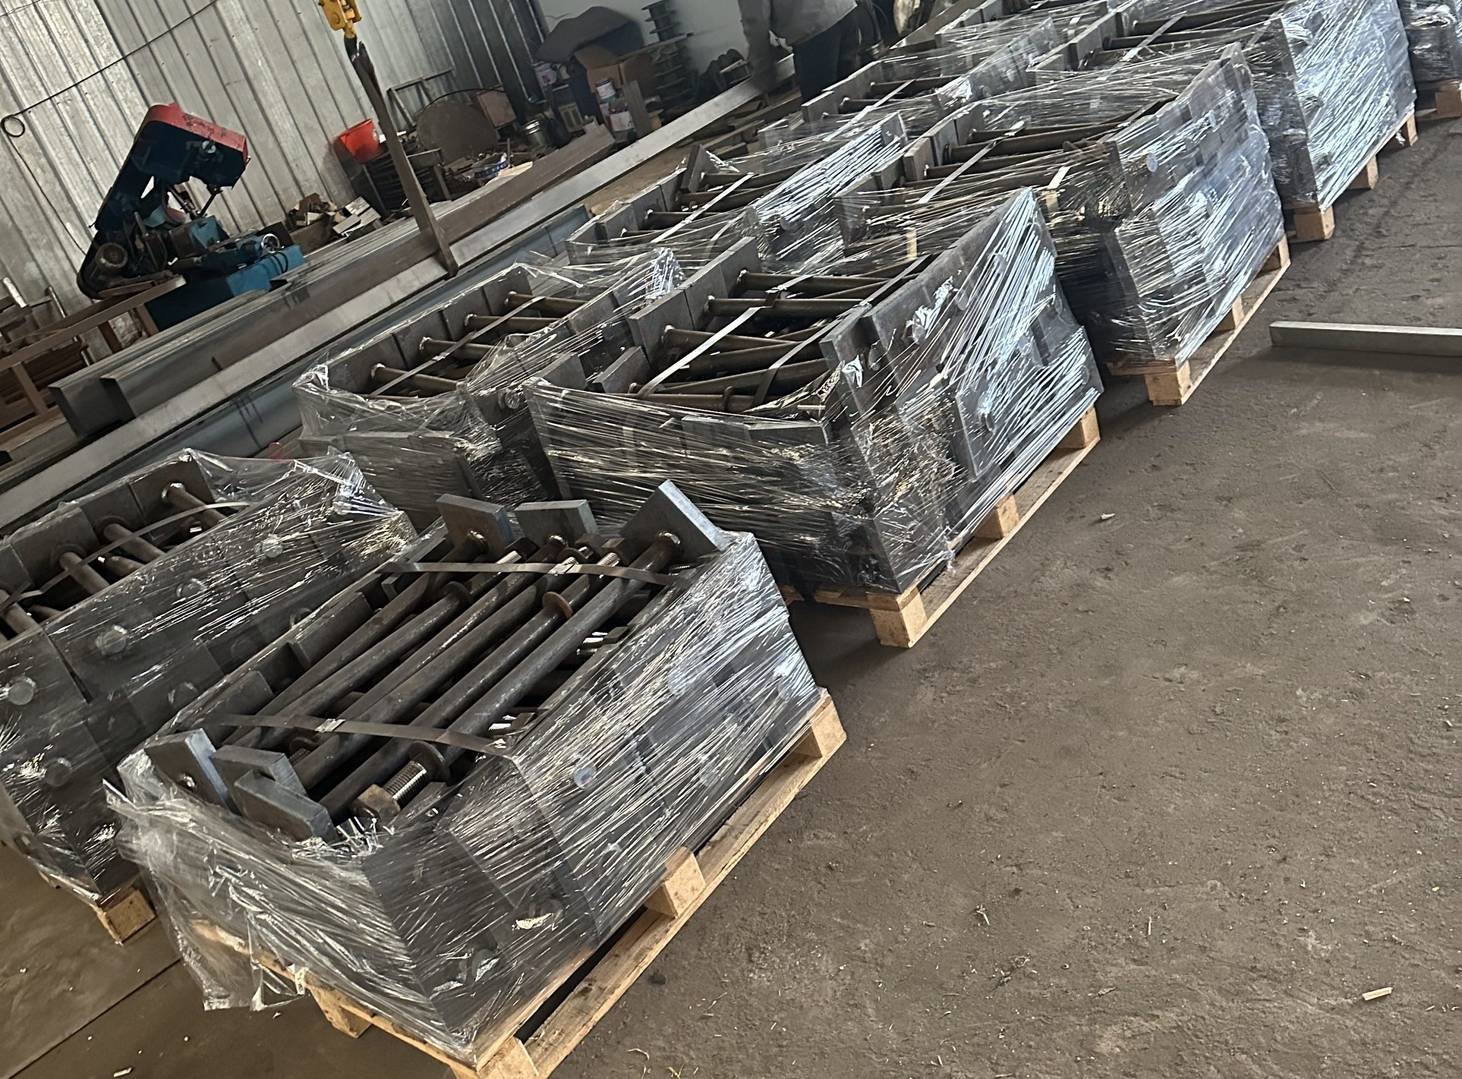
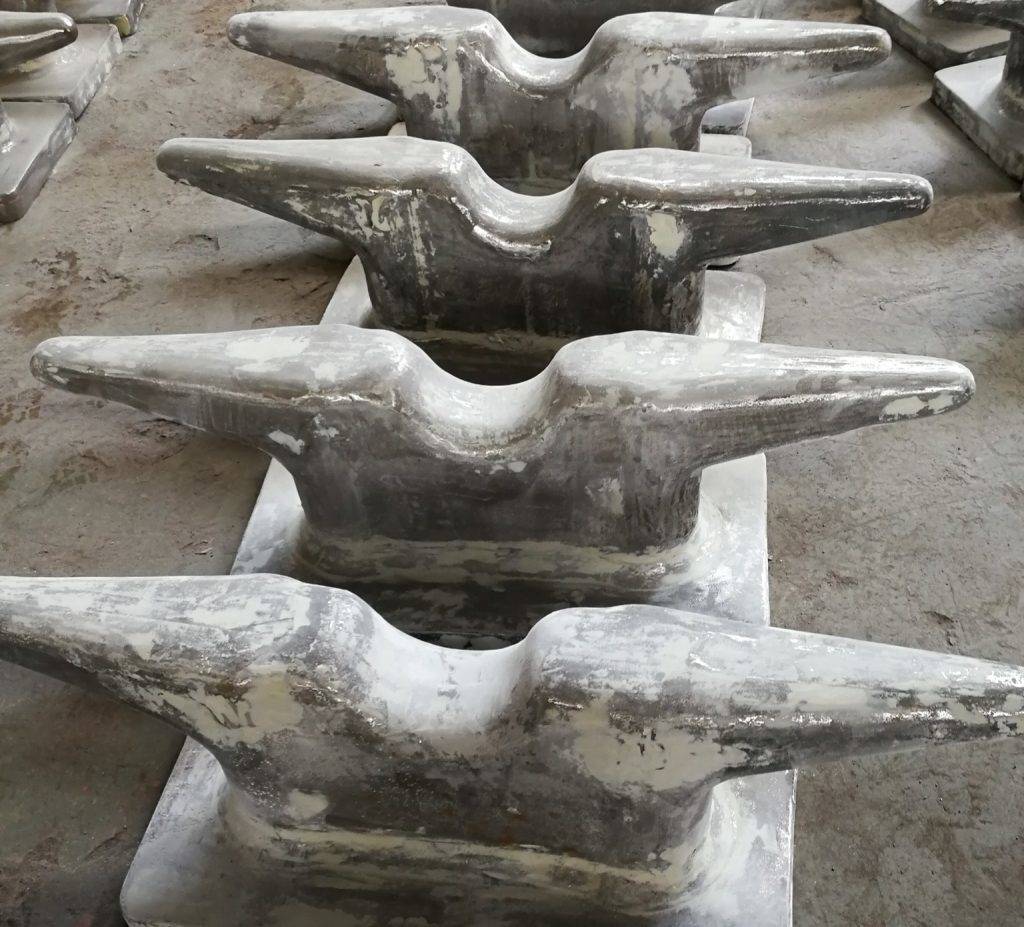
Materials and Manufacturing
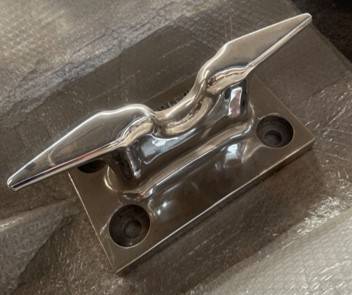
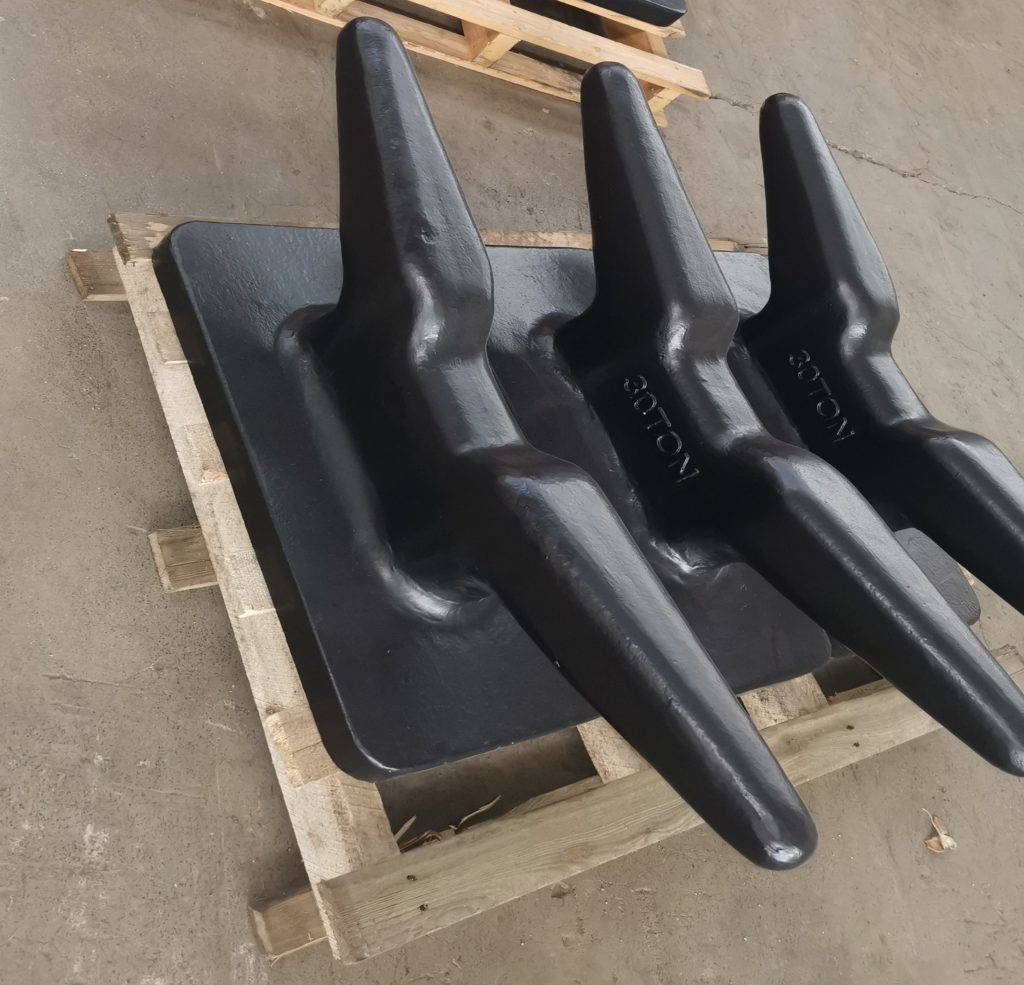
SME cleat bollards are made from cast steel or stainless steel (304/316).
- Cast steel offers high strength and impact resistance.
- Stainless steel provides excellent corrosion resistance and a polished finish for marinas and yacht docks.
Polishing enhances durability and appearance.
Specifications
SME’s Cleat mooring bollards are available in:
Tonnage capacity: 5 t, 10 t, 15 t, 20 t, 25 t, 30 t, 35 t, 40 t, 50 t
Dimensions: 16”, 24”, 36”, 42”, 50”, 57”
These bollards suit various rope angles and are ideal for small wharves, marinas, and medium-duty commercial ports.
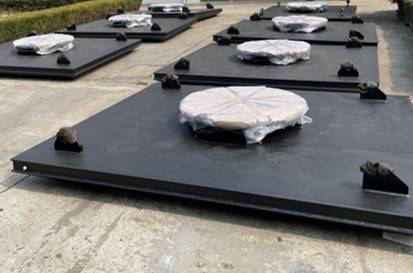
How to Install a Mooring Bollard
Proper installation ensures a long service life for Marine Bollards. These bollards can be recessed or surface-mounted, with recessing generally preferred to prevent loosening or grout cracking.
Step 1: Marking (for surface-mounted or recessed)
First, clean the area thoroughly and mark the hole positions using an anchor template. Then, verify the distances from the jetty edge. After confirming the measurements, double-check alignment to ensure accuracy.
Step 2: Drilling
Next, align the drill vertically and drill to the required depth. Additionally, use a continuous flow of water to reduce heat. If diamond coring is required, ensure the proper equipment is used.
Note: Pre-Embedded Installation
For pre-embedded bollards, drilling is not required. Instead, align the bollard with the foundation and ensure it is level. After that, secure the embedded anchors and allow the grout or concrete to cure fully.
Step 3: Cleaning
After drilling, flush the holes with water and brush the surfaces thoroughly. Then, blow out debris using oil-free compressed air. Repeat the water and air cleaning cycle at least twice to ensure the holes are completely clean.
Step 4: Adhesive Injection
Next, attach a Hilti HIT-RE-M or equivalent mixer to the foil pack. Begin injecting adhesive from the bottom of the hole, slowly withdrawing the mixer to fill approximately two-thirds of the hole. Make sure to avoid air voids for optimal bonding.
Step 5: Setting Anchors
Before inserting the anchors, clean and dry them thoroughly. Then, slowly insert each anchor to the required depth while maintaining proper alignment. Afterward, fill any gaps around the anchors with resin to ensure full contact. Once the resin is applied, allow it to cure completely. Finally, inspect all anchors to confirm they are securely set and ready for use.
Note: For guidance on Mooring Cleat Bollards, follow the specific anchor and installation instructions provided by the manufacturer.
*For detailed guidance and standards for high-quality mooring bollards, refer to:
ISO Standards for Mooring Equipment